Multiply
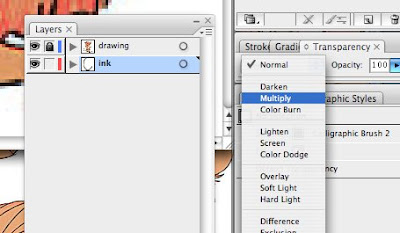
I put the original drawing on a seperate layer. You can put it down on the layer you want to ink. But you also can put it on top and that will give you some advantages. If you put the drawing on top you need to select the drawing and go to transperancy>multiply (like in the screenshot above). You now can see trough the original drawing (see in the screen below). If you make the lines you ink with gray (or another color) you can still see the original lines on top of youre ink. I made a small example of that in the screenshot under.
* I don't always do this but sometimes it can help to check.
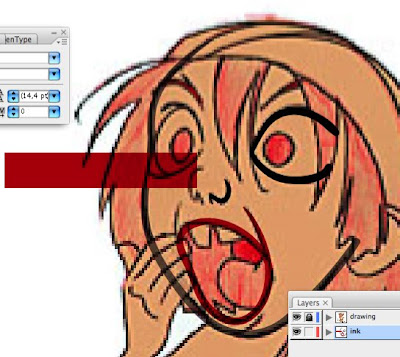 *the drawing is from Rune Bennicke
Point tool
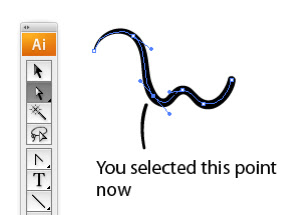
You can select points with the point tool! Cool!
Pen tool
When you ink with the brush the lines youre ink not always are like how you want it to be, they sometimes get too smooth or you want to delete some part of the line.
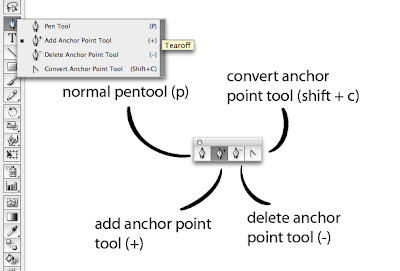
If you click on the tearoff button like in the image above, you get this easy to use small window with all the pentools.
The convert anchor pen tool is great for making adjustments in the lines. Try it.
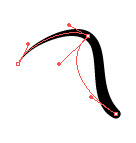
Convert tool in action. (above) You can make corners on smooth lines. Click with the convert tool on the handle.
You also should experiment with deleting points and adding points with the tools and look what kind of results you get.
Expand appearance.
When you use the brush you notice that it's just 1 line and you can only adjust that line. If you use expand you can chance the shape with more freedom.
 See things better
Illu is a vector program, you can compare it with a 3D program. You see a preview, a calculation.
You can turn off the preview so you can see all the lines. You do that with the short key (command/alt + y).
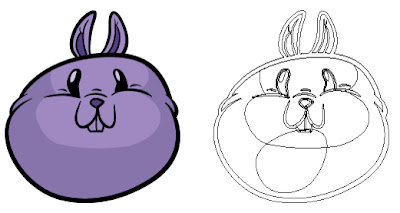 You can use it to select stuff that's behind the drawing. Or if you want to select a line. You can select things more easy in this mode. And you can check if you didn't forget about lines that you can't see in preview.
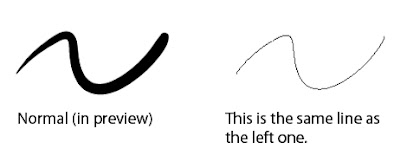
A brush looks like this if you turn of the preview, that's why you need to expand appearance to adjust the outlines.
 Is it usefull?
2 other things that can help with inking are "select the same" (you can use this to delete lines that you don't want to use anymore in one time!) and "expand" (you can make from 2 shapes 1 shape)

6 comments:
Hey What recird shop? what was it??
lots of practical stuff! Thanks for putting the time into this Mitch!
Wow!
This is great, Mitch. I added it to our cartoon fundamentals blog's links. I have a few questions:
Do you scale the pencils to a certain size. I have to in order to keep my brushes the size they are. I usually scale the pencils into an 8"x11" page. Good thing ILLUSTRATOR lines keep their sharpness no matter what size you make them.
I also read that you only use 2 brush sizes. Any insight into this? One of my major problems is that I have too many brushes. So my inking doesn't have consistency from one project to the next.
Thanks,
David O.
Thanks.
I use 2 brushes to keep it simple. Sometimes I use more, but I try to keep it as low as possible so I can work faster. Do what works for you the best.
Great tutorial mitch!
I don't know if I understand you Deemo.
I get those pointy ends because of the pressure sensitivity in the pen.
Post a Comment